Need help? We're here!
(888) 312-8812 Login SignupHow to Replace the Driver’s Seat in a Freightliner Columbia: A Step-by-Step Guide
December 18, 2024

December 18, 2024

When your truck seat has seen better days, upgrading to a newer, more comfortable seat can make a world of difference—especially if you’re clocking countless hours on the road. This guide is tailored for truck drivers, fleet owners, and DIY-ers who want to replace their Freightliner Columbia seat themselves and save money instead of visiting a mechanic shop. Let’s get started!
Before diving in, make sure you have the following tools handy:
Socket kit (preferably a 12-point socket set)
Ratchet (72-tooth recommended)
Extensions (for tight spaces)
Vise grips (just in case)
Release all the air from your truck system. This prevents a stream of air from rushing out when you disconnect the airlines.
Start with the seatbelt bolts on both sides. Use a Torx head bit (T50) to detach them, and remember to save the hardware for reinstallation.
Locate the four bolts at the base of the seat. There are two in the front and two in the back. Use your socket and ratchet to carefully loosen and remove them.
If a bolt spins in place, use vise grips to stabilize the threaded insert underneath.
Disconnect the airlines from the seat base.
Pro Tip: If the bolts are stubborn, go slow to avoid snapping them. Always apply anti-seize lubricant when reinstalling bolts to make future removals easier.
Position the new seat in place. If your new seat doesn’t align perfectly with the existing bolt holes, use an adapter plate.
Temporarily hook up the airlines and inflate the seat airbags to properly align the bolt holes.
Secure the seat with the four bolts, tightening them snugly.
Reattach the seatbelt hardware to the new seat.
Note: The bolts from the old seat may not be long enough if the base of your new seat is thicker. Consider purchasing new bolts for a more secure fit.
Reconnect the airline to the seat base. Ensure there are no air leaks by capping unused airline connections.
Start the truck and test the seat adjustments. Ensure the seat feels stable and all bolts are securely tightened.
Wear protective eyewear when disconnecting airlines to avoid injury from unexpected air streams.
Double-check all connections, especially seatbelt bolts, for maximum safety on the road.
Stubborn Bolts: Use penetrating oil and patience. Avoid snapping bolts to prevent complications.
Misaligned Holes: Use an adapter plate to accommodate different bolt patterns.
Threaded Inserts Spinning: Stabilize the insert with vise grips or replace it with a new one.
Lubricate seat bolts with anti-seize during installation to ease future removals.
Periodically inspect seatbelt bolts and airline connections for wear and tear.
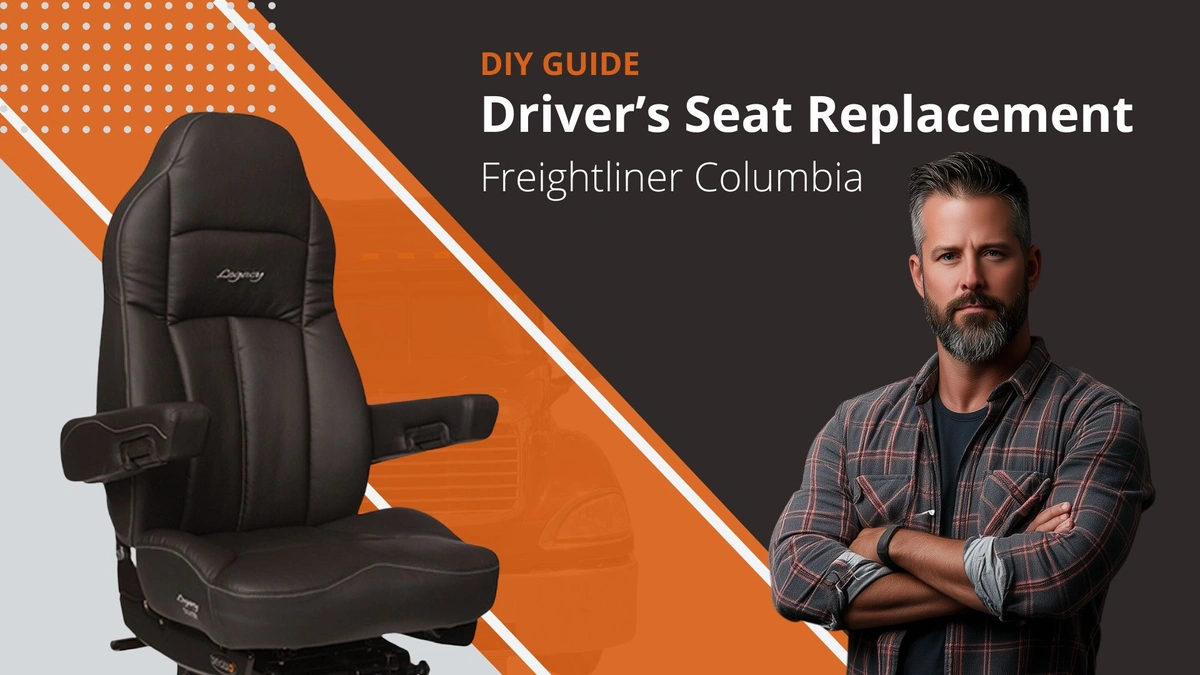
Upgrading to a new seat like the Legacy Silver HD ensures better comfort and durability, especially for long hauls. Plus, DIY installation saves you a trip to the shop.
Need replacement seats or accessories? FinditParts offers a wide selection of seats, bolts, and other Freightliner-compatible parts—both OEM and aftermarket. Browse today for competitive pricing and fast shipping.
And don’t forget to watch DIYSEMI’s video for exclusive discounts on truck parts and tools to make your next DIY project even easier!